Step 1 change port in registry
Using Windows Registry
Here is a step-by-step guide on how you can change the port number using the Windows Registry.
- Click Windows + R to open the Run dialog box. Type Regedit to open the registry editor.
- Navigate to HKEY_LOCAL_MACHINE\System\CurrentControlSet\Control\Terminal Server\WinStations\RDP-Tcp.
- Look for Port Number.
- Click Edit > Modify.
- Enter the new port number and click OK.
- Close the registry.
- Restart your computer.
Step 2 allow it though the firewall
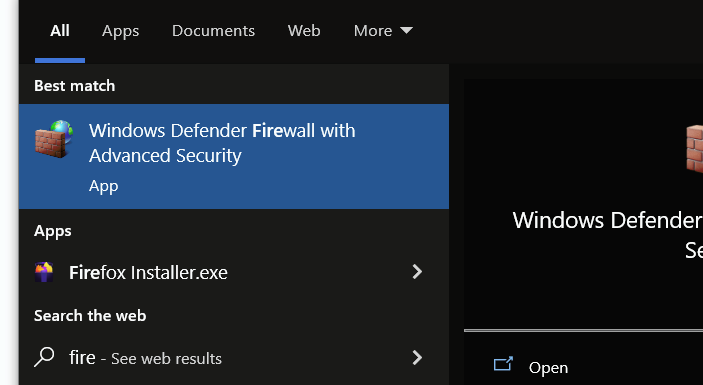
Navigate to windows firewall
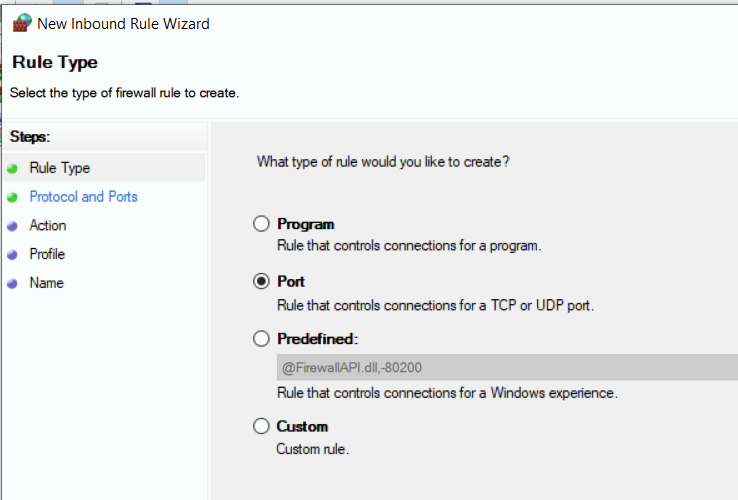
In rule Type select Port
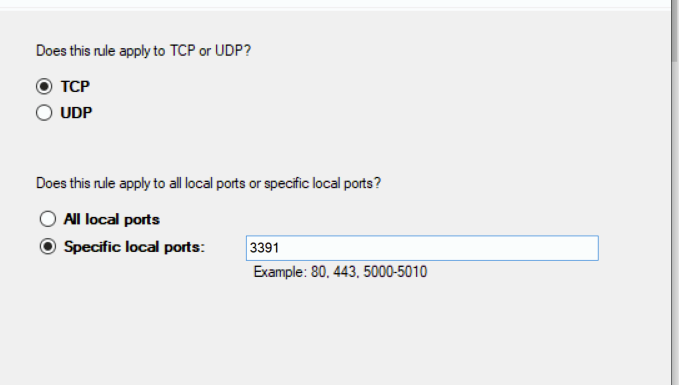
Specify the same TCP port you specified in the registry
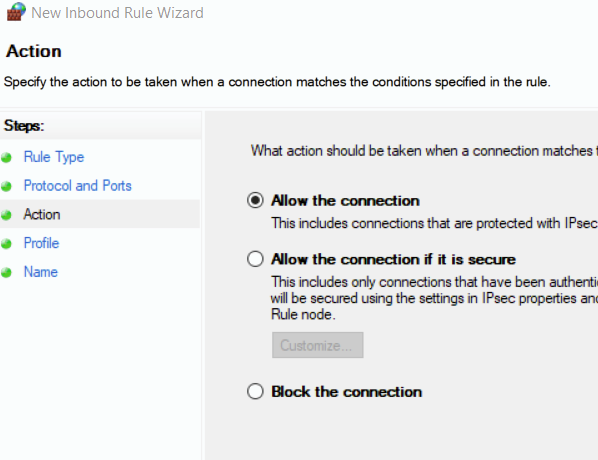
In action select Allow
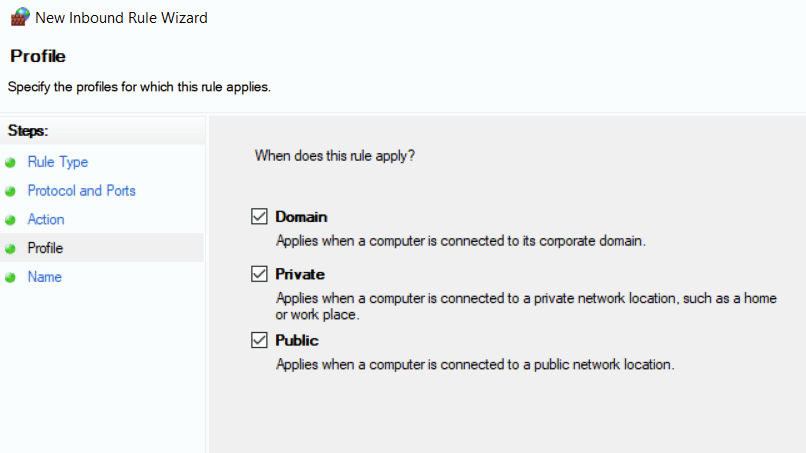
Choose where this rule applies
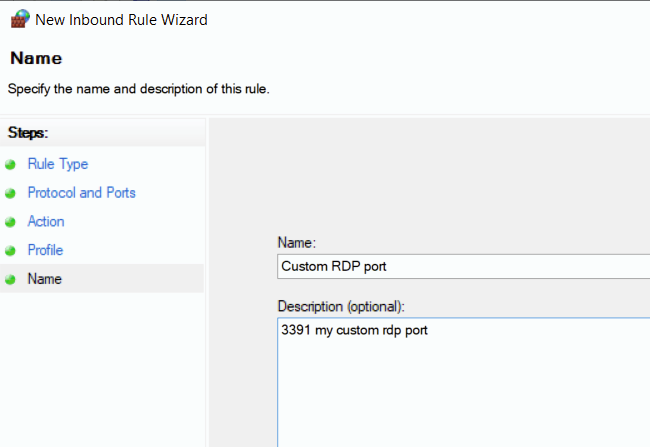
Name the new rule
Step3 when connecting to the remote PC make sure to Specify the specified port
for example instead of 192.168.100.2 , use 192.168.100.2:3391

Easy powershell script to do it instead of all the above manual steps
$portvalue = 3391

Set-ItemProperty -Path 'HKLM:\SYSTEM\CurrentControlSet\Control\Terminal Server\WinStations\RDP-Tcp' -name "PortNumber" -Value $portvalue

New-NetFirewallRule -DisplayName 'RDPPORTLatest-TCP-In' -Profile 'any' -Direction Inbound -Action Allow -Protocol TCP -LocalPort $portvalue
New-NetFirewallRule -DisplayName 'RDPPORTLatest-UDP-In' -Profile 'any' -Direction Inbound -Action Allow -Protocol UDP -LocalPort $portvalue